
Your computer is slow, the browser keeps opening tabs you didn't request, or your Mac feels wrong even though nothing obvious has broken. You may be tempted to delete a few unfamiliar programs and restart. That can help with nuisance adware, but it won't reliably find a hidden process, a compromised browser session, or a malicious file waiting in an attachment.
Learning how to scan for malware properly means treating the scan as a diagnosis, not a magic button. Contain the device first, use continuous protection and a deliberate full scan, then check the accounts and backups a local scanner can't see.
Table of Contents
- Why a Proper Malware Scan Is Your First Move
- Containment and Preparation Before You Scan
- Running Scans with Built-In Windows and Mac Tools
- When to Use Third-Party Scanners and Safe Mode
- Interpreting Scan Results and Taking Action
- What a Local Malware Scan Will Not Catch
- Building a Weekly Scanning and Monitoring Routine
Why a Proper Malware Scan Is Your First Move
A quick scan is useful when you need an immediate indication of whether common threats are active. It's not the same as examining the whole system. A full scan takes longer because it checks more locations, including files and folders that a routine check may not prioritise.
When cleaning a machine, I start with symptoms but don't rely on them. A slow computer may have malware, but it may also have a failing drive, excessive startup applications, browser extensions, or an operating system that needs repair. Pop-ups, unexpected redirects, unfamiliar security warnings, and new user accounts deserve more suspicion because they can indicate unwanted software or unauthorised activity.

Scanning is part of a larger defence
Canada's Cyber Centre reported that its network-based sensors blocked about 6.6 billion potentially malicious actions per day and analysed over 1 billion suspicious files for malware in 2023–2024 in its annual reporting from the Communications Security Establishment. That scale matters because malware detection isn't limited to an antivirus window on a laptop. It includes file analysis, domain monitoring, network filtering, and investigation.
Your own scan is one smaller layer of that ecosystem. It can find malicious files, unwanted applications, suspicious processes, and indicators that have reached the endpoint. It can't prove that every account, cloud service, or network device is safe.
Practical rule: Don't start by reinstalling Windows or wiping a Mac. First preserve useful evidence, contain the device, and establish whether you're dealing with malware, unwanted software, account compromise, or a hardware problem.
A proper first move gives you a baseline. You'll know what the scanner found, what it quarantined, and whether symptoms remain after cleanup. That makes the next decision, repair, restore, password reset, or professional investigation, much safer.
Containment and Preparation Before You Scan
If you think malware is active, don't leave the computer connected while you investigate. A compromised device may communicate with an attacker, spread malicious files through shared resources, or expose information while you're still clicking through menus.
The Canadian Centre for Cyber Security advises disconnecting an infected device from Wi‑Fi, Ethernet, and mobile data immediately, and powering it off if malware is actively spreading. Its guidance also supports running scans offline and restoring only from verified clean backups, as described in the Canadian malware repair guidance.
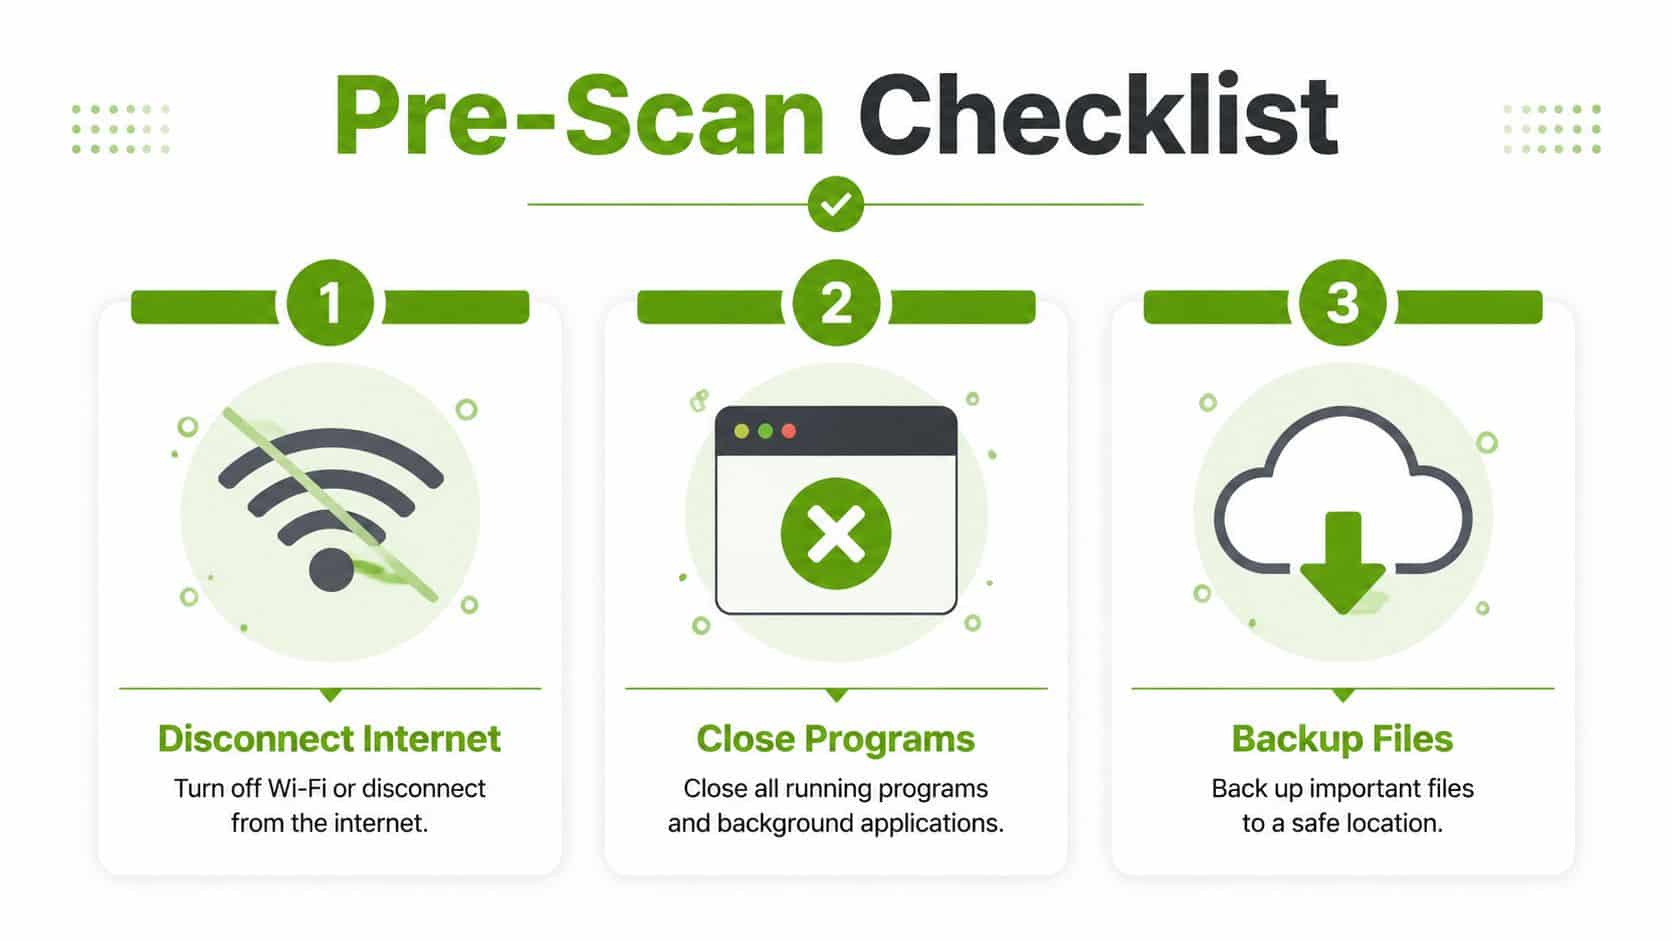
Follow this order
- Disconnect every network path. Turn off Wi‑Fi, unplug Ethernet, and disable mobile tethering. Don't connect USB drives, shared folders, or other devices until you've assessed the machine.
- Decide whether to shut down. If files are changing, the system is locking up, security software is being disabled, or you can see suspicious activity spreading, power the device off. Don't keep browsing for clues on an actively compromised computer.
- Record what happened. Note pop-ups, redirects, unfamiliar applications, account alerts, and the approximate time symptoms began. Take photographs with a phone if you need to preserve an error message.
- Protect your backups. Don't assume a backup is clean because it was created automatically. Use a backup made before the suspected infection, and scan backup files before restoring them. For Mac users, review Time Machine backup options before treating a backup as a recovery point.
- Prepare an offline scan. If the operating system remains usable, update the scanner before disconnecting, then use its offline or boot-time scanning option. If you can't trust the installed environment, use a clean recovery drive prepared on another computer.
Don't log into banking, email, payroll, or business accounts from the suspected device. Use a separate, known-clean device to change important passwords and review account activity. This separates local cleanup from identity protection, which is important because removing a file won't undo stolen credentials.
Running Scans with Built-In Windows and Mac Tools
Built-in protection is a sensible starting point because it's already integrated with the operating system and can provide real-time monitoring without adding another security suite. The menus differ between Windows versions, but the core process is consistent.
Windows with Microsoft Defender
On current Windows systems:
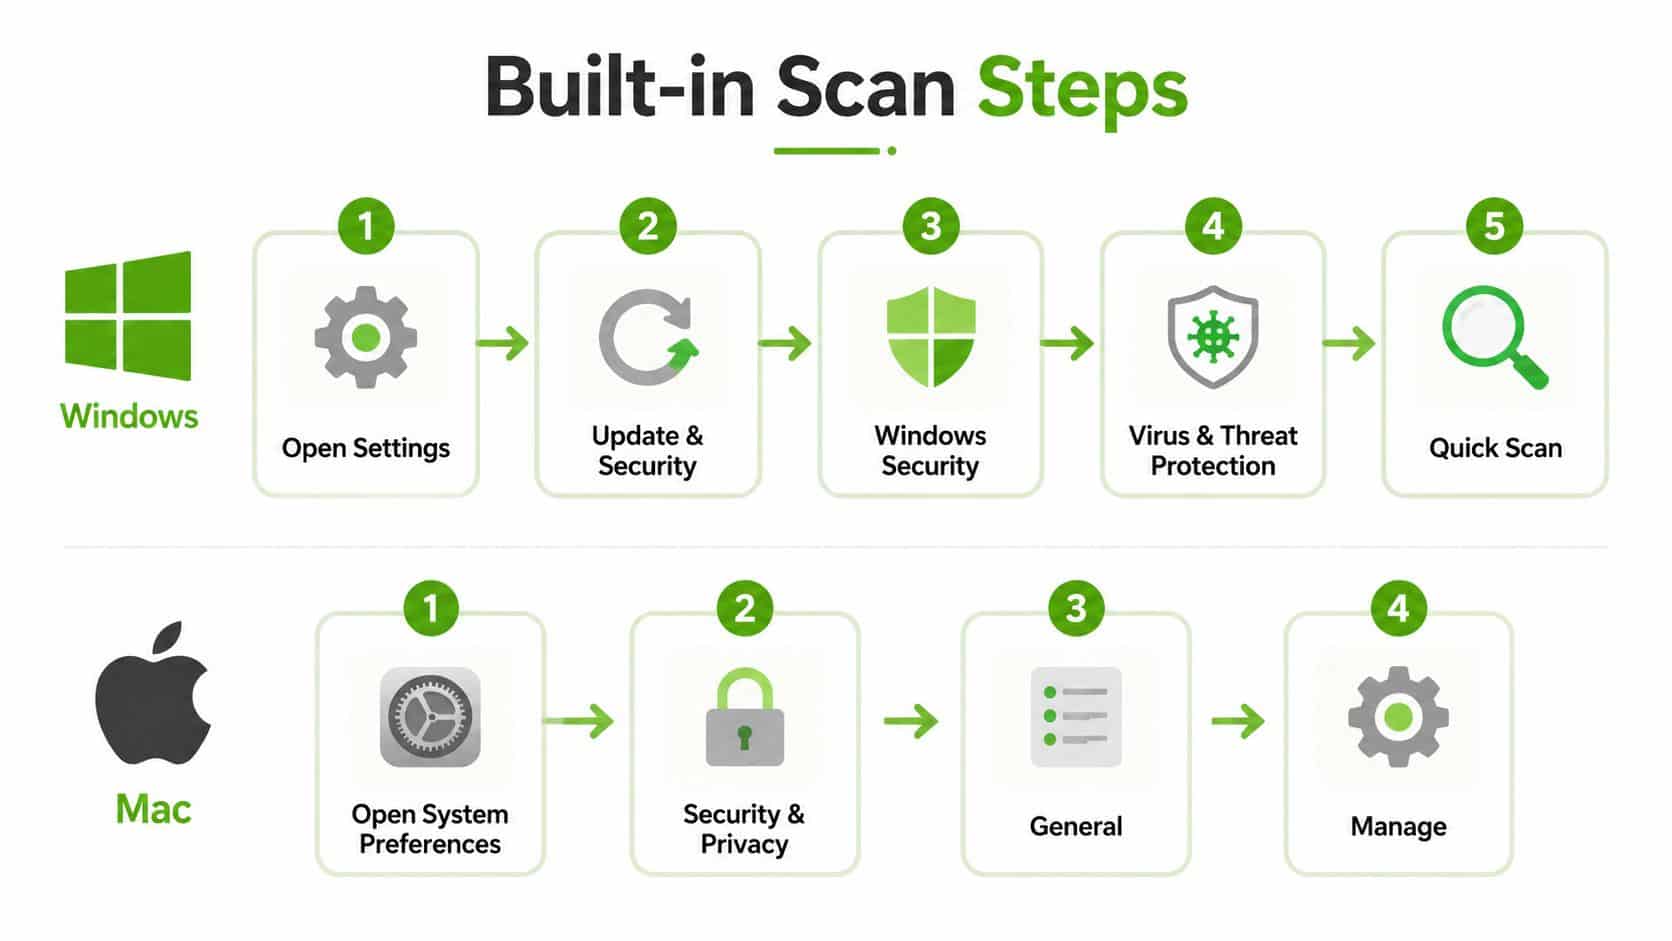
- Open Start, search for Windows Security, and open it.
- Select Virus & threat protection.
- Check the protection status and confirm that Real-time protection is on.
- Select Quick scan for an initial check.
- For a deeper review, select Scan options, choose Full scan, and select Scan now.
- If you suspect a persistent infection, choose Microsoft Defender Antivirus offline scan from the same screen. Save your work first, because Windows will restart.
A Quick scan is appropriate for an immediate check. A Full scan examines substantially more of the system and should run when you won't need the computer. Overnight is convenient, but don't schedule a scan during a period when the machine routinely sleeps, shuts down, or runs critical work.
Windows Security's results screen may show current threats, quarantined items, allowed threats, and protection history. Open each detection rather than selecting “allow” to clear the warning. If you don't recognise a file, leave it quarantined while you verify its location, publisher, and role.
macOS built-in protections
macOS uses built-in protections including XProtect and Gatekeeper. They work primarily by checking known malicious software, downloaded applications, developer signing, and suspicious behaviour. There isn't a Windows-style full-system scan button in macOS, so use the available protections and inspect the system when symptoms continue.
Keep macOS updated through System Settings > General > Software Update. Review System Settings > Privacy & Security for blocked applications, login items, background permissions, and recent security warnings. On older macOS releases, similar controls appear under System Preferences > Security & Privacy.
Use Activity Monitor to inspect CPU, memory, energy, disk, and network use. A strange process name isn't automatically malware, so don't force-quit system processes at random. Search the process name using a trusted source, inspect its file location, and consider a reputable second-opinion scanner before removing anything.
The Canadian Centre for Cyber Security recommends anti-malware software on all devices, current definitions, real-time on-access scanning, and scheduled full-system scans as baseline controls in its malware protection guidance.
When to Use Third-Party Scanners and Safe Mode
Built-in tools are strong first-line protection, but they can miss unwanted applications, browser hijackers, altered settings, or a threat that has interfered with the operating system. A second opinion is justified when symptoms remain after a clean result, a browser keeps redirecting, security settings change by themselves, or an unknown program returns after removal.
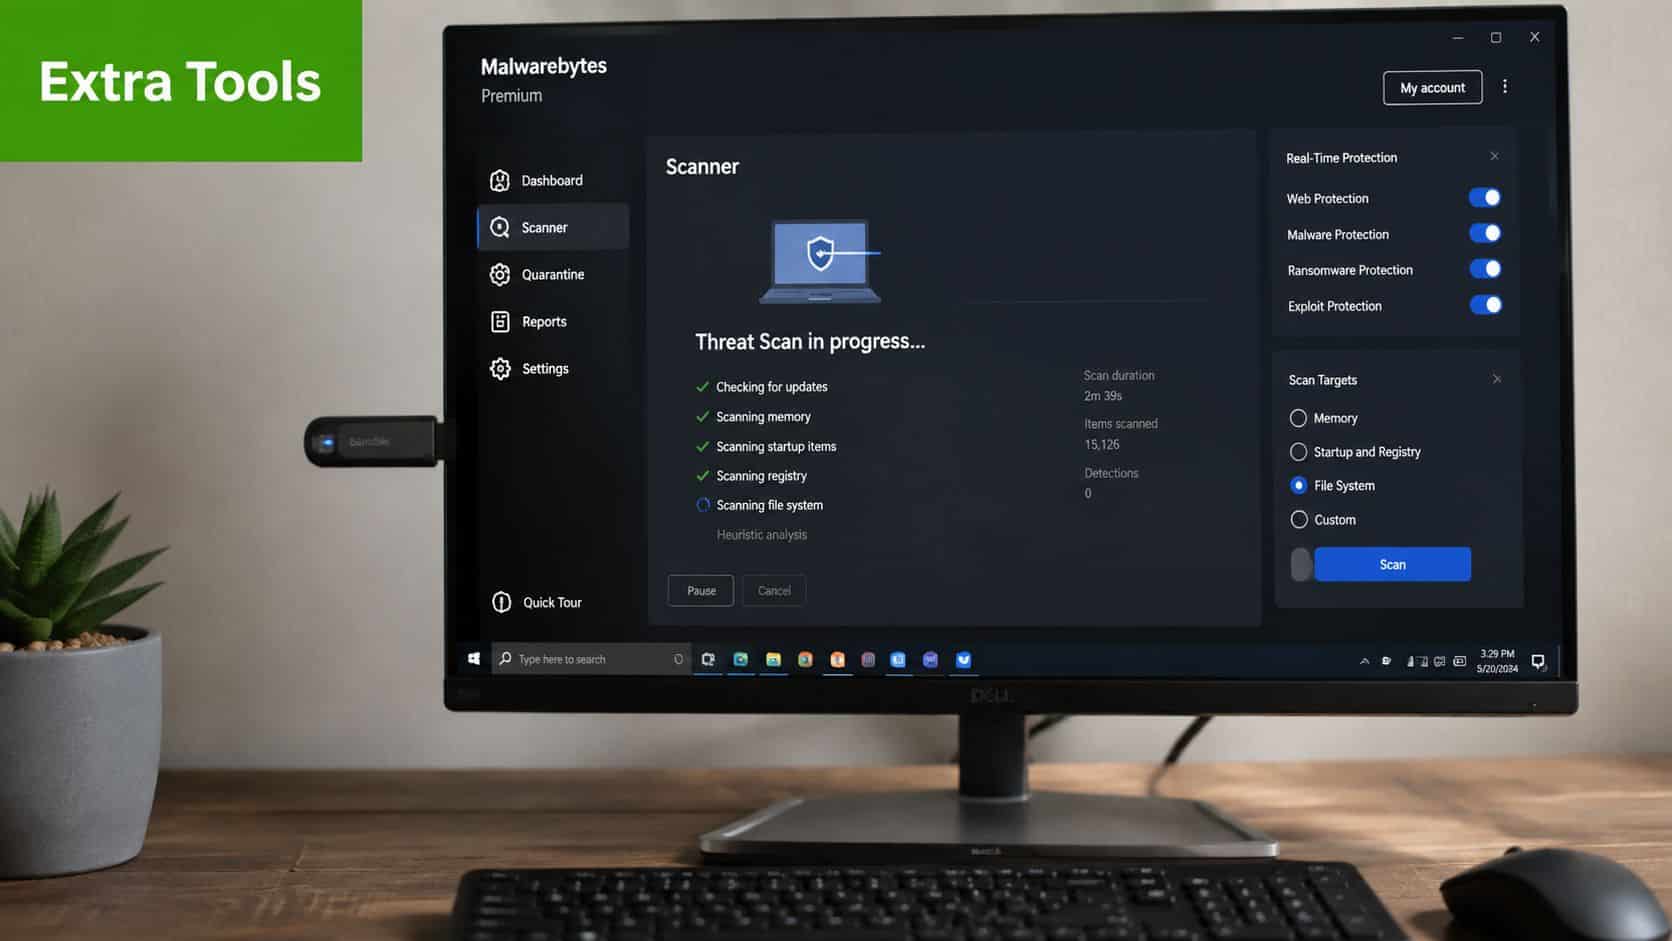
Malwarebytes is commonly used for an on-demand second scan. Install it from the vendor's official website, update it, run a threat scan, and review detections before quarantining them. HitmanPro can provide another opinion, but don't install several real-time antivirus products together. Multiple always-on engines can conflict, consume resources, and make troubleshooting harder.
Safe Mode changes what can run
On Windows, hold Shift while selecting Restart, then choose Troubleshoot > Advanced options > Startup Settings > Restart. Select Safe Mode with Networking only when you need network access to obtain a scanner. For a cleaner investigation, use ordinary Safe Mode and run a scanner already installed or copied from a clean source.
Safe Mode prevents many third-party startup services from loading. That can stop malware from actively defending itself, but it doesn't make the machine automatically safe. Don't delete unfamiliar files just because they're visible in Safe Mode. Check their location, publisher, and scanner result first.
On a Mac with Apple silicon, shut down, hold the power button until startup options appear, select a volume, hold Shift, and choose Continue in Safe Mode. On an Intel Mac, restart while holding Shift until the login window appears. Safe Mode can help isolate startup extensions and login items, although modern macOS security controls mean the symptoms may require broader account and configuration checks.
For websites, a local scanner isn't enough. A compromised WordPress installation needs server-side review, file integrity checking, and account inspection. A useful complementary resource is WordPress site risk scoring, particularly when visitors report redirects but the administrator's computer scans clean.
If the computer is severely compromised, don't download tools from the infected browser. Use a clean computer to create a reputable rescue USB, then boot the affected system from it. This keeps the scanner outside the potentially compromised operating system. Nerds 2 You can help with antivirus installation when the device needs a properly configured protection tool rather than another random download.
Interpreting Scan Results and Taking Action
A detection name isn't a complete diagnosis. Scan reports usually separate confirmed malware from potentially unwanted programs, adware, suspicious browser extensions, and items requiring review. Read the file path, detection category, publisher, and action taken before you approve removal.
Quarantine is usually safer than immediate deletion. It isolates the item so it can't run, while preserving the possibility of recovery if the scanner made a mistake. Permanent deletion is appropriate after you've confirmed the file is malicious or unnecessary and the computer remains stable without it.
Use evidence before choosing an action
- Confirmed threat: Keep it quarantined, record the detection name and location, then remove it according to the scanner's recommendation.
- Potentially unwanted program: Check whether someone intentionally installed it. Toolbars, bundled utilities, and aggressive browser extensions may not be traditional malware, but they can still create privacy and performance problems.
- Possible false positive: Don't restore it immediately. Submit the file or its hash to VirusTotal and compare results from multiple engines, then check the software publisher's documentation.
- Browser hijacker: Remove unfamiliar extensions, restore the intended search engine and homepage, clear suspicious notification permissions, and review installed applications.
Never upload confidential documents to a public scanning service. If the detection involves payroll files, customer information, legal documents, or proprietary business data, preserve the file locally and ask a technician or security professional to analyse it safely.
Document the cleanup. Save the scan date, detection names, affected paths, quarantined items, removed extensions, and any password resets completed afterward. If the machine still behaves strangely, that record prevents repeated guesswork. The malware removal service from Nerds 2 You is relevant when a scan finds threats but the system continues to show redirects, instability, or unexplained account activity.
A clean result doesn't always mean the investigation is finished. Check startup items, browser extensions, scheduled tasks, login items, email rules, and active sessions when the original symptoms suggest more than a single infected file.
What a Local Malware Scan Will Not Catch
A local scanner checks the endpoint. It can find a malicious executable, altered system component, or unwanted extension, but it usually cannot show whether an attacker stole an email password, copied a browser session token, added an inbox forwarding rule, or opened a new cloud session.
That gap matters for remote workers and small businesses. An identity attack may happen entirely in Microsoft 365, Google Workspace, a business application, or another cloud service, leaving little evidence on the hard drive. Cybersecurity Canada's reporting has described identity attacks as a majority of investigated incidents. The same reporting points to vulnerability exploitation as a leading initial-access method in Verizon's 2026 DBIR, along with continued growth in third-party and supply-chain breaches. A clean endpoint therefore does not settle the account-security question.
Complete the account-side inspection
Use a known-clean device for these checks:
- Review active sessions: Sign out unknown browsers, devices, and locations from Microsoft, Google, Apple, and business applications.
- Reset credentials: Change the affected account password and every other account that reused it. Avoid saving the new password in a browser you suspect.
- Enable MFA: Choose an authenticator app or security key where the service supports it.
- Inspect email rules: Look for forwarding, deletion, filtering, and auto-reply rules you did not create.
- Audit remote access: Review AnyDesk, TeamViewer, Remote Desktop, Chrome Remote Desktop, and similar tools for unexpected installations or users.
- Check cloud backups: Confirm that backups were not deleted, encrypted, or replaced after the suspected compromise.
Review provider audit logs when available. They can show sign-ins, rule changes, token use, and administrative actions that a local scan cannot see.
A clean computer with a compromised account remains a security problem. Finish the endpoint scan, then review sessions, reset passwords, enable MFA, and check the provider's activity records.
Building a Weekly Scanning and Monitoring Routine
A weekly routine should catch threats without interrupting work. Keep real-time protection active, allow automatic definition updates, and schedule full scans during low-use periods. On Windows, open Windows Security > Virus & threat protection > Scan options. If the interface does not offer a usable schedule, configure one through Task Scheduler.
Use these checks:
- Confirm protection status: Verify that real-time scanning and updates are running.
- Run a full scan weekly: Leave the computer powered on and idle for the scan.
- Inspect messages before opening: Scan attachments and links. Where your mail system allows it, block high-risk file types such as
.exeand.js. - Watch the network: Endpoint scans cannot show every suspicious connection or cloud event. Small businesses should add network monitoring.
- Escalate persistent symptoms: Repeated detections, changing files, disabled security tools, inaccessible backups, or unexplained account activity require professional investigation.
Disconnect a machine from the network before investigating active symptoms, then use an offline scan when malware may interfere with Windows. A weekly scan also does not replace identity checks. Review account sessions, unexpected mail rules, remote-access tools, and provider audit logs, because a clean endpoint can still have a compromised account.
Recent TELUS reporting indicates that Canadian organisations continue to face attacks through misconfiguration, email and phishing, and known vulnerabilities. The study report also describes frequent attacks and cases first detected outside IT or security teams. Scheduled scanning is one control, not the entire monitoring plan.
Nerds 2 You handles most major hardware repairs on site. For board-level work, it recommends a specialised partner. Its support plans include ongoing support and network monitoring for small and medium businesses.
Nerds 2 You Edmonton provides on-site virus and malware removal, antivirus installation, computer diagnostics, and network monitoring for homes and small and medium businesses. Visit Nerds 2 You Edmonton to arrange help with a suspicious computer, backup setup, or security routine.
Discover more from Nerds 2 You
Subscribe to get the latest posts sent to your email.