
You're in the middle of a work call, the MacBook is connected one second, then the Wi-Fi stops behaving and everything starts freezing at once. In Edmonton, that usually sends people into the same panic loop, restart the laptop, blame the Mac, then discover the problem was never on the Mac at all. The smarter move is to treat macbook wifi not working as a three-layer triage problem, the Mac, the local network, and the upstream internet.
That order matters because Canadian broadband isn't equally solid everywhere. The CRTC reported that in 2023, 93.2% of Canadian households had access to fixed high-speed internet at the target speeds of 50/10 Mbps, while only 67.5% of rural households did, which helps explain why a MacBook can look faulty when the actual issue is weaker last-mile service or uneven home coverage. On a marginal connection, a MacBook may show drops, DNS delays, or repeated authentication failures even when the laptop is fine on another network, and Apple's own guidance starts by checking the router and internet connection, not just the Mac itself.
Table of Contents
- When Your MacBook Loses Its Connection
- Quick Checks Before You Touch Any Settings
- macOS Settings Worth Adjusting First
- Built-In macOS Tools That Do the Heavy Lifting
- When Only the MacBook Has the Problem
- Reading the Logs and Pinning Down the Real Cause
- Prevention and When to Call Nerds 2 You
When Your MacBook Loses Its Connection
A typical Edmonton home-office failure starts in the middle of something ordinary. The video call is fine, then the screen pauses, the browser spins, and the Wi-Fi icon still looks deceptively normal. That's where people lose time, because they keep treating a network symptom like a random Mac bug instead of asking which layer failed.
Start by separating the three layers
The Mac layer includes the laptop's Wi-Fi radio, saved network profile, and local configuration. The local network layer is the router, access point, and home Wi-Fi coverage. The upstream layer is the internet service itself, including the modem and provider side.
Practical rule: if another device in the same room also fails, stop blaming the Mac first. If the Mac fails on one network but works on another, the fault usually sits in the local network or the Mac's saved settings.
That distinction saves a lot of unnecessary toggling. A MacBook that works at a café in downtown Edmonton but not in a basement office isn't automatically broken, it may just be sitting in a weak spot, dealing with overloaded Wi-Fi, or fighting a router that's struggling with coverage and negotiation.
Apple's own troubleshooting guidance points in the same direction. Wireless Diagnostics is designed to help identify whether the failure is on the Mac, the local network, or the internet path, which is exactly why it belongs near the start of the process, not at the end.
If the laptop works on one network and fails on another, the Mac isn't proving a hardware fault yet. It's proving that one layer needs isolation.
The field mistake I see most often is jumping straight into settings changes without proving which layer is broken. That's how a simple router reboot turns into an afternoon of password resets, network deletions, and unnecessary stress.
Quick Checks Before You Touch Any Settings
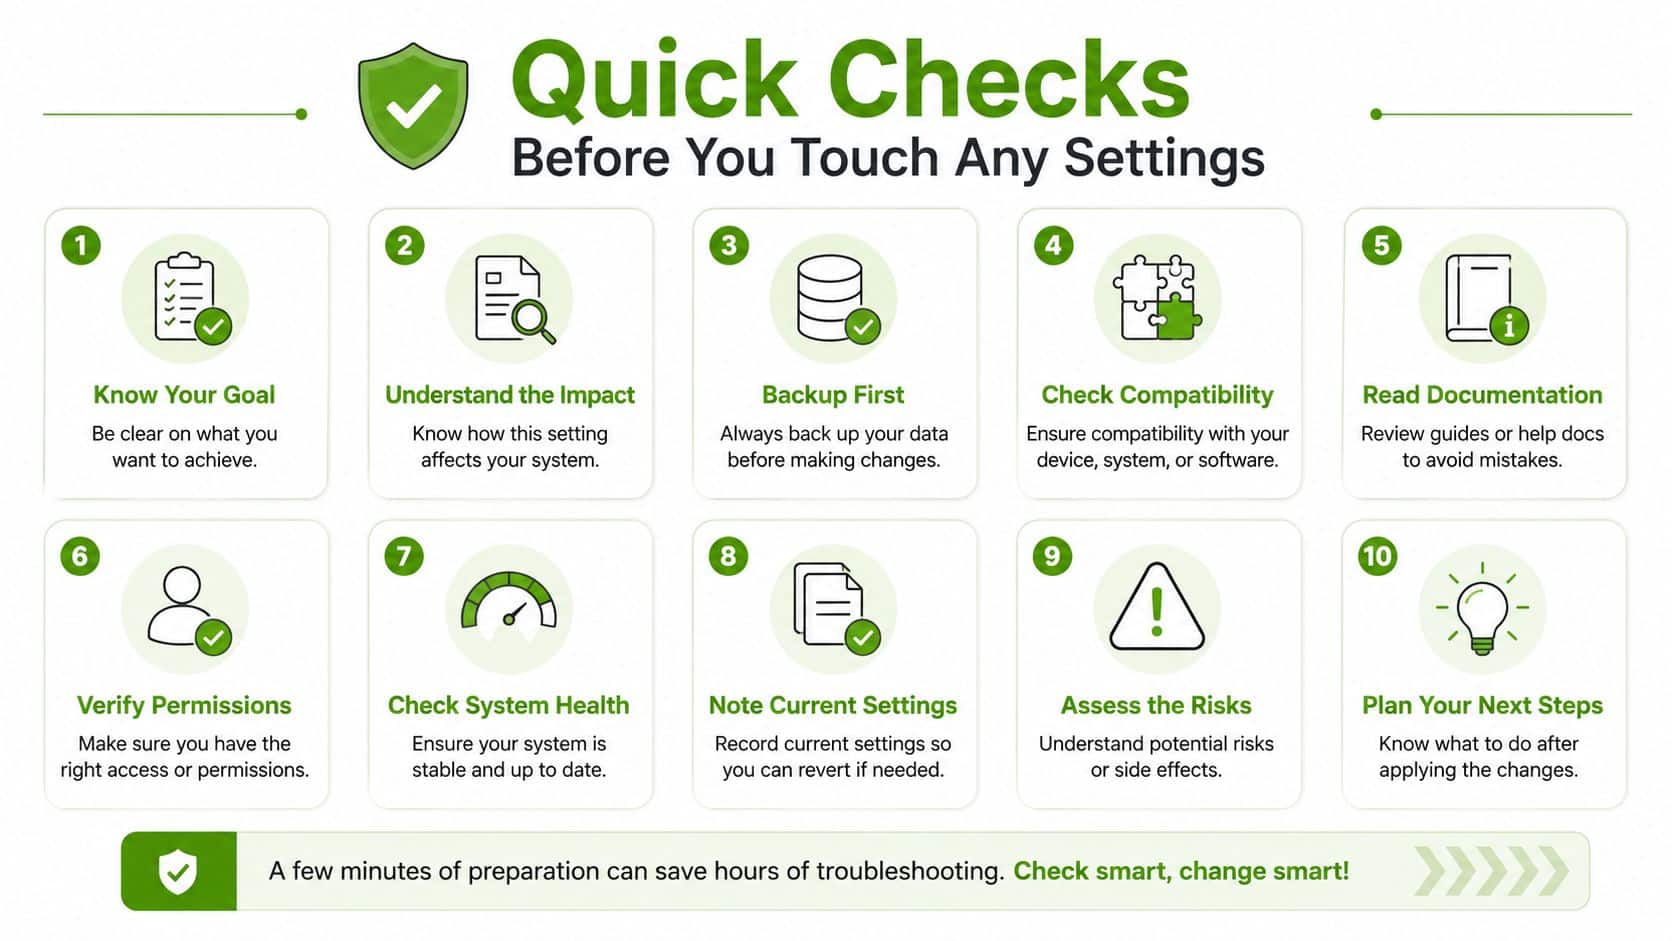
The fastest way to avoid chasing ghosts is to spend a minute proving whether the router, internet service, or Mac is at fault. Start with another device on the same Wi-Fi. If a phone, tablet, or another laptop also stalls, the Mac is probably not the problem.
Use the 30-second router reset correctly
A quick power toggle often isn't enough. Unplug the router for about 30 seconds, then plug it back in and give it time to come fully back online. That pause clears a lot more bad state than a fast off-and-on cycle.
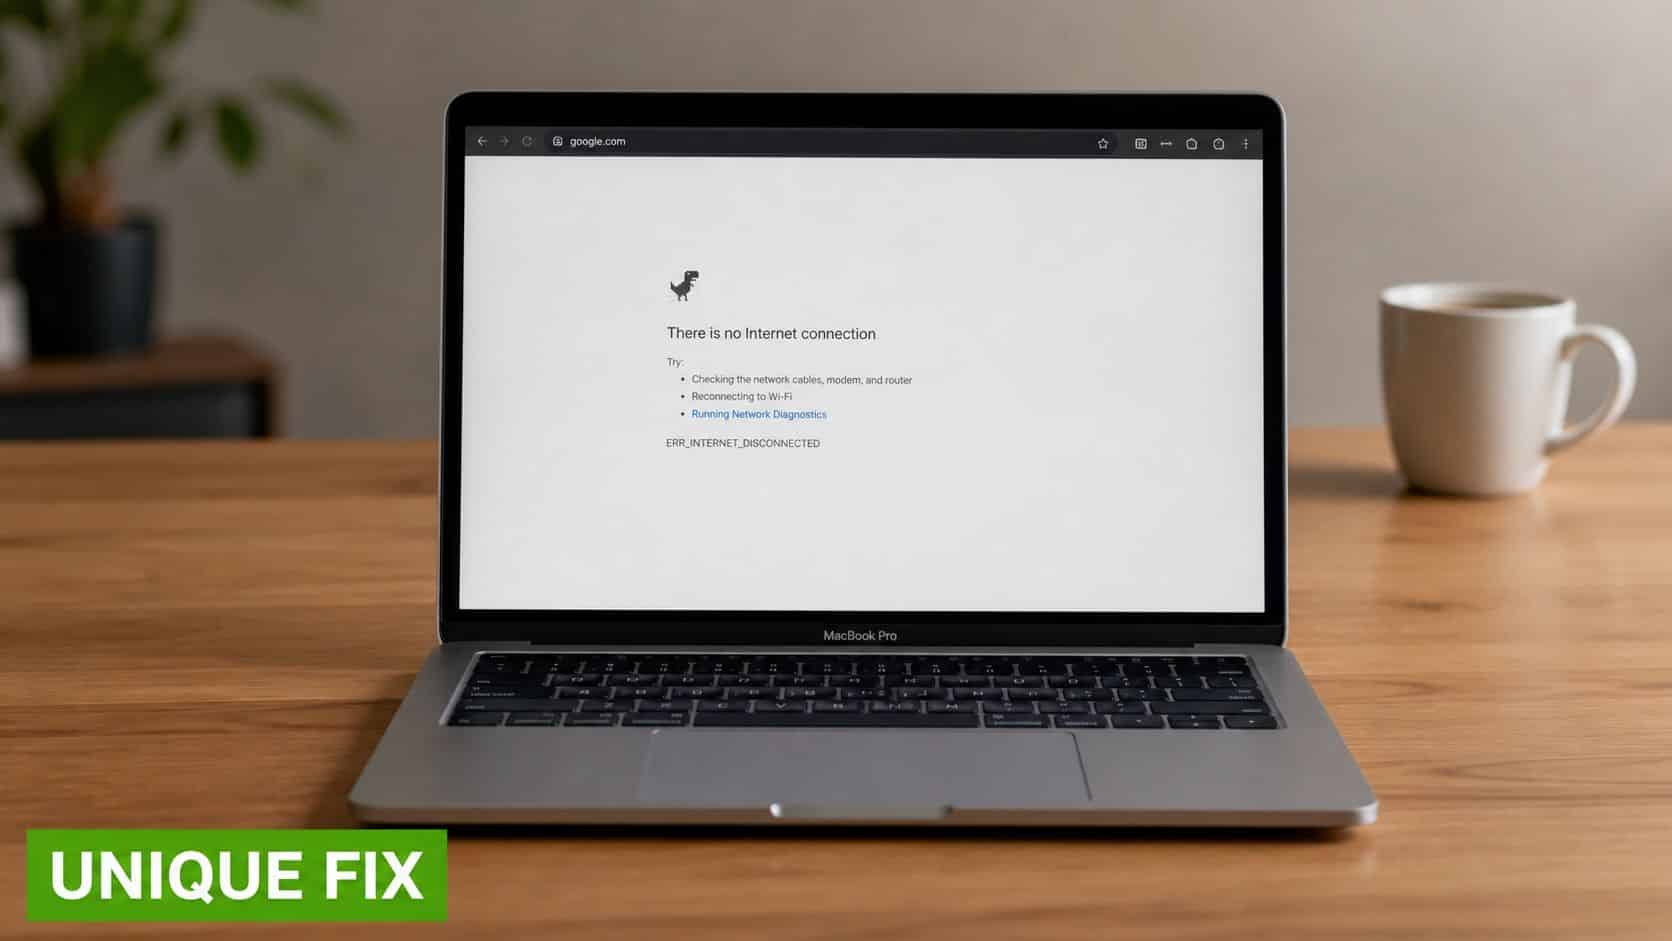
Next, confirm the internet itself is reachable, not just the Wi-Fi signal. If the router shows a connection but websites still fail on every device, the upstream service may be the issue. That's where the Mac can look guilty even when it's attached to a dead connection.
A better test is to join a completely different network. A phone hotspot is usually the fastest option, and a neighbour's Wi-Fi can work too if that's available. If the MacBook connects cleanly elsewhere, the laptop is probably fine and the fault lives in the home network, the router, or the line beyond it.
For Alberta users, that split matters more than many realize. The CRTC's rural and urban access gap means some homes are more exposed to weak last-mile performance, so a MacBook that misbehaves at home may behave perfectly elsewhere.
If you need a broader modem-side checklist after these first checks, the modem troubleshooting guide is a useful companion.
Field note: don't trust the Wi-Fi icon alone. A Mac can show connected while DNS or DHCP is failing underneath.
macOS Settings Worth Adjusting First
Once the quick checks point at the Mac, keep the sequence disciplined. Start with the simplest change first, then move down the connection stack in order, because random toggling creates more confusion than it fixes.
Work from the saved connection outward
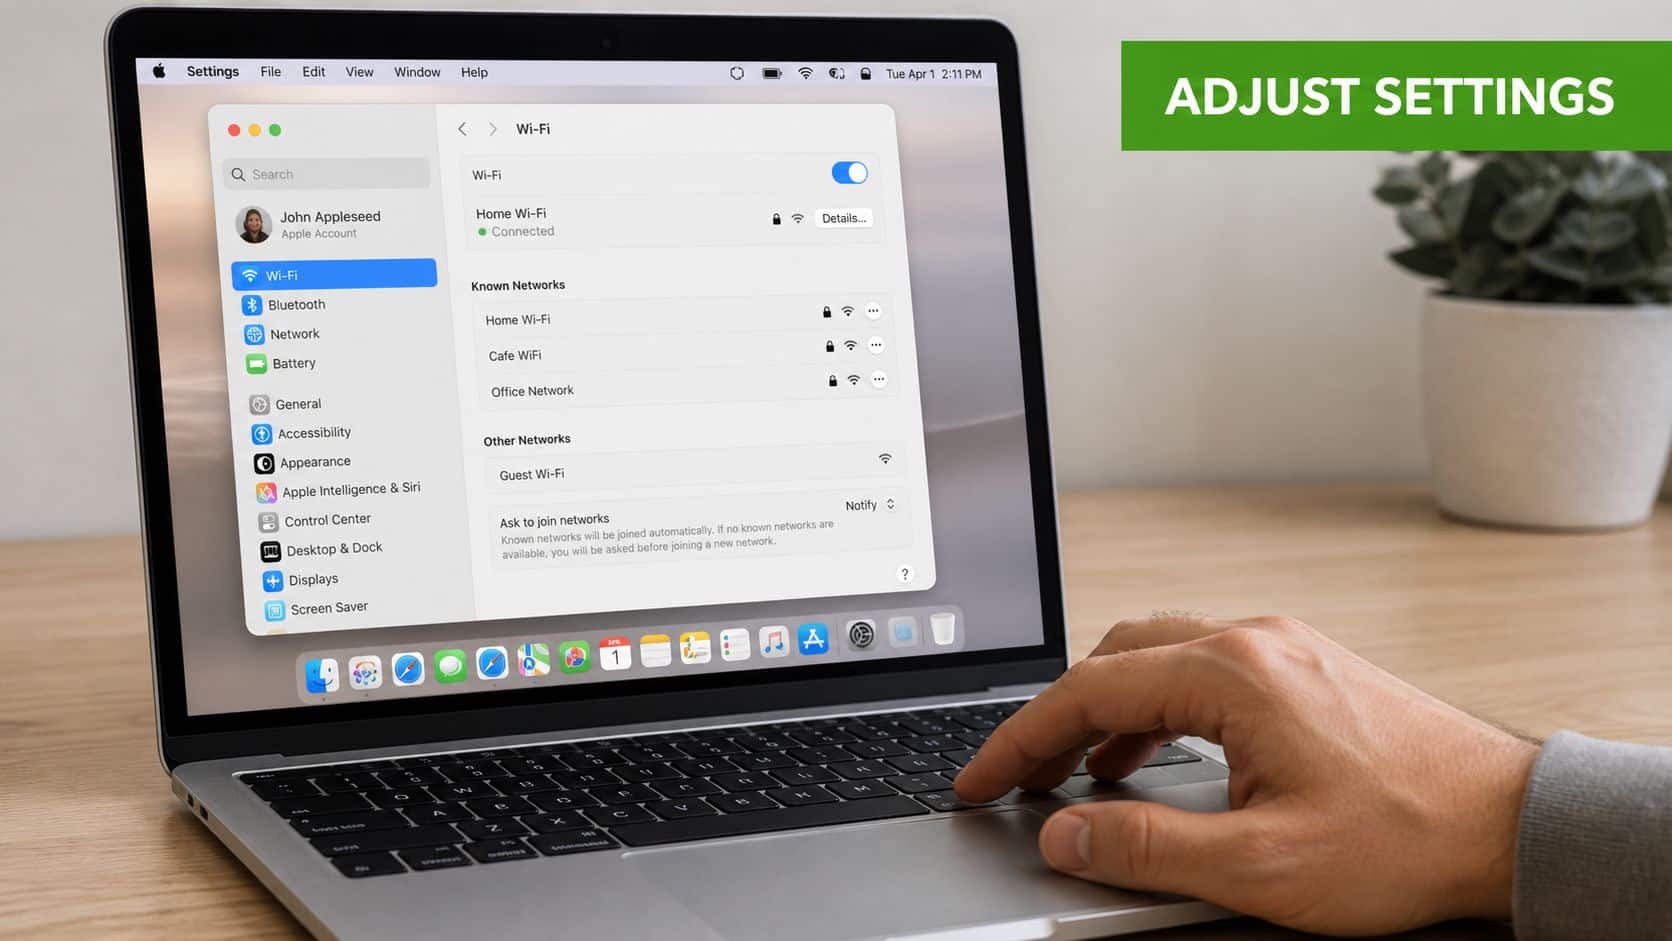
Turn Wi-Fi off, wait a few seconds, then turn it back on. That sounds basic, but it forces the Mac to renegotiate the link cleanly instead of clinging to a half-broken session.
If that doesn't clear it, open System Settings, go to Wi-Fi, choose the network, and use Forget This Network. Apple documents this step because it removes the saved profile and makes the Mac rebuild the connection from scratch instead of reusing stale settings. If the password, security handshake, or profile data got corrupted, this is one of the few fixes that reaches the right layer.
Check DHCP and DNS separately
If the Mac joins the Wi-Fi but won't reach the internet, open the network details and run Renew DHCP Lease. Apple treats this as a separate fix because address assignment can fail even when signal strength looks fine. A bad lease can leave the Mac connected in appearance while it still can't route traffic properly.
If the machine still stalls, test DNS. A public resolver such as 1.1.1.1 or 8.8.8.8 can help confirm whether the failure is in name resolution rather than the wireless link itself. That's often the difference between “Wi-Fi is broken” and “the network is attached, but websites aren't resolving.”
The repair logic here is simple. Toggle, forget, renew, then test DNS. That order works because each step moves one layer deeper instead of guessing at everything at once.
For a broader reset-focused walkthrough, SwiftNet Wifi has a useful resource on improve internet speed by resetting, and the same principle applies here: clear the layer that's stale.
Built-In macOS Tools That Do the Heavy Lifting
When basic settings don't solve it, macOS already includes the tools that expose where the failure sits. Most users never open them, but they're the first thing I reach for when a ticket stops behaving like a simple password problem.
Use Wireless Diagnostics before you chase hardware
Launch Wireless Diagnostics by holding Option while clicking the Wi-Fi or Control Center menu, then choose Open Wireless Diagnostics. Apple recommends it specifically for Mac Wi-Fi failures because it helps sort out whether the fault belongs to the Mac, the local network, or the internet path.
That makes it a strong first diagnostic step on site. If the report points away from the Mac, you stop wasting time on device-level changes. If it points back to the Mac, you have a cleaner case for deeper troubleshooting.
Escalate only when the easier fixes fail
On Intel Macs, a PRAM/NVRAM reset uses Command + Option + P + R during startup. That targets firmware-level or cached configuration state, which is why it sits later in the sequence, not near the beginning. It's useful when the Mac seems stuck in a bad network state that ordinary toggles don't clear.
Newer Macs also have a network stack reset path through macOS settings. Apple and other technical references treat that as an escalation step, not a first move, because you're clearing deeper configuration rather than testing the obvious stuff.
If you're comparing reset paths and want a structured companion, the article on Wi-Fi MAC randomization tool helps explain how device identity and connection behaviour can intersect on modern networks.
When Only the MacBook Has the Problem
This is the part most generic guides barely touch. A MacBook that's the only device failing on a healthy network can be dealing with band steering, 5 GHz or 6 GHz compatibility, or a router-client negotiation problem that doesn't look obvious from the outside.
Watch for angle-dependent connectivity
A laptop that works only at certain angles, or only when it's flat on a desk, usually isn't dealing with a software glitch. That pattern points toward antenna issues or internal hardware degradation, and it's a very different problem from a stale DHCP lease or a bad saved password.
I've seen this show up as a MacBook that connects when the lid is positioned one way, then drops the instant the machine is moved. People often spend hours resetting the router because the failure doesn't feel mechanical, but the physical symptom is the clue.
Separate router negotiation from laptop failure
The other common case is the MacBook being the only client that won't join, while every other phone and laptop on the network is fine. That can happen when a router and a Mac don't agree on band steering or newer Wi-Fi behaviour. Apple points users toward trying another network and running Wireless Diagnostics for a reason, because the laptop may be healthy but mismatched with that particular access point.
For a technician, this is the point where software fixes stop being the answer. If another network works, but the home router and this Mac refuse to cooperate, the issue may be in the negotiation path rather than the obvious settings. That's also where an on-site visit becomes more efficient than repeated resets.
If malware is also a concern, the internal guide on how to remove malware from Mac is worth reading, because infections can complicate network behaviour and muddy the diagnosis.
Reading the Logs and Pinning Down the Real Cause
When the obvious fixes fail, the logs usually tell the truth faster than guesswork does. Open Console and look for Wi-Fi-related entries around the exact time the drop happened, then focus on the parts that mention authentication, DHCP, or driver behaviour.
Look for failure patterns, not noise
A DHCP-related failure means the Mac never got a usable address from the network. An authentication rejection means the login or handshake broke. A driver crash points closer to the Mac itself, especially if the failure repeats across multiple networks.
That's enough for a non-engineer to narrow the field without drowning in log spam. The point isn't to read every line, it's to identify the event that changed the connection from working to broken.
Practical rule: capture the log snippet while the problem is fresh. Replaying the failure later is much harder if the network has already recovered.
If you're handing the machine to a technician, a saved sample from Console can cut diagnosis time dramatically. The best ticket is always the one that tells us which layer failed, not just that the Wi-Fi icon looked wrong.
For router-side context, the internal router configuration guide is a better next stop than more random toggling, especially when the logs suggest negotiation or access-point issues.
Prevention and When to Call Nerds 2 You
Keep macOS updated, avoid buggy router firmware when you can, and separate 2.4 GHz and 5 GHz SSIDs in homes where band steering keeps causing trouble. That last step isn't always necessary, but it can make stubborn homes and small offices far easier to manage.
For broader Wi-Fi planning, the guide to workplace WiFi boosters is useful context when a laptop keeps losing signal in the same rooms every day. Sometimes the fix isn't on the Mac at all, it's in the coverage pattern.
| Symptom | Likely Layer | Recommended Action |
|---|---|---|
| Other devices fail too | Local network or upstream internet | Power-cycle the router, test the service, then contact the provider if needed |
| Mac works on hotspot but not home Wi-Fi | Local network or router negotiation | Forget the network, renew DHCP, rejoin, then check router settings |
| Works only at certain angles | Mac hardware | Book on-site inspection, likely antenna or internal hardware issue |
| Console shows repeated authentication or DHCP failures | Mac or local network | Use Wireless Diagnostics, then escalate with logs |
Nerds 2 You handles most major hardware repairs on site in Edmonton, but not board-level repairs. It doesn't provide remote services, and it doesn't provide full MSP services, although it does provide ongoing support and network monitoring for small and medium businesses that need more than a one-off fix.
If the MacBook still drops after the software steps, or the connection only behaves at odd angles, that's the point to stop guessing. Book an on-site visit with Nerds 2 You Edmonton, especially if you want a technician to check the Mac, the router path, and the network setup in one visit.
Contact Nerds 2 You for quality professional service
Experience the difference with our dedicated team of experts ready to assist you. Whether you need immediate support or have questions about our services, we are here to help. Reach out today and let us provide you with the reliable service you deserve. Your satisfaction is our priority and we guarantee a prompt response to all inquiries.
Discover more from Nerds 2 You
Subscribe to get the latest posts sent to your email.