
You've just brought home a new MacBook, or your office has replaced an ageing Mac, and the first question is straightforward: how do you move everything across without losing files, breaking applications, or interrupting work? In Edmonton, that decision can be more complicated than it looks. Condo Wi-Fi, large photo libraries, old software, security tools, and limited time can all affect the result.
A reliable Mac to Mac data transfer is less about clicking the first option that appears and more about choosing the right connection, preparing both computers, and checking the new Mac before retiring the old one. Apple's built-in Migration Assistant remains the foundation because it can transfer documents, applications, user accounts, settings, and Home folder data between Macs, using Wi-Fi, the same network, or an Ethernet connection, as described in Apple's Canadian deployment guidance.
Table of Contents
- Why a Mac to Mac Data Transfer Needs More Than a Click
- The Pre-Transfer Checklist to Complete Before You Start
- Choosing the Right Transfer Method for Your Situation
- Running Migration Assistant the Right Way
- Alternative Methods When Migration Assistant Is Not Ideal
- Verifying the New Mac After the Transfer
- Common Problems, Fixes, and When to Call a Local Tech
Why a Mac to Mac Data Transfer Needs More Than a Click
A small Edmonton accounting firm picks up two new MacBook Pro computers just before its busiest period of the year. The owner expects both employees to sign in, open their usual applications, and get back to work by lunch. That assumption is understandable, but it ignores the work around the transfer itself.
The migration also touches backup policy, network readiness, software licensing, Apple ID access, security controls, and user expectations. A file copy can appear successful while an application still needs activation, an email account asks for credentials, or a VPN fails because its security profile wasn't installed on the new Mac.
The same Mac can move in several ways
Migration Assistant can copy a complete user environment from one Mac to another. You can run it over Wi-Fi, use a direct Ethernet connection, or connect the computers with suitable Thunderbolt or USB cables. Each path has different failure points. Wireless transfers depend on stable network conditions and proximity, while a wired transfer requires the right cable, ports, and adapters.
Other options suit different problems. A Time Machine backup can help when the source Mac won't start. An external SSD gives you control over selected folders. iCloud can synchronise cloud-based information between devices, but it isn't a complete replacement for a local transfer when large libraries are stored only on the old Mac.
Practical rule: Choose the transfer path before the assistant screen appears. Cable access, macOS compatibility, data volume, and the old Mac's future all influence that choice.
The old Mac also shouldn't be wiped immediately. Migration Assistant copies information, but it doesn't prove that every application, account, peripheral, and business workflow works on the destination. Treat the move as a small operational project, then erase or resell the source computer only after verification.
The Pre-Transfer Checklist to Complete Before You Start
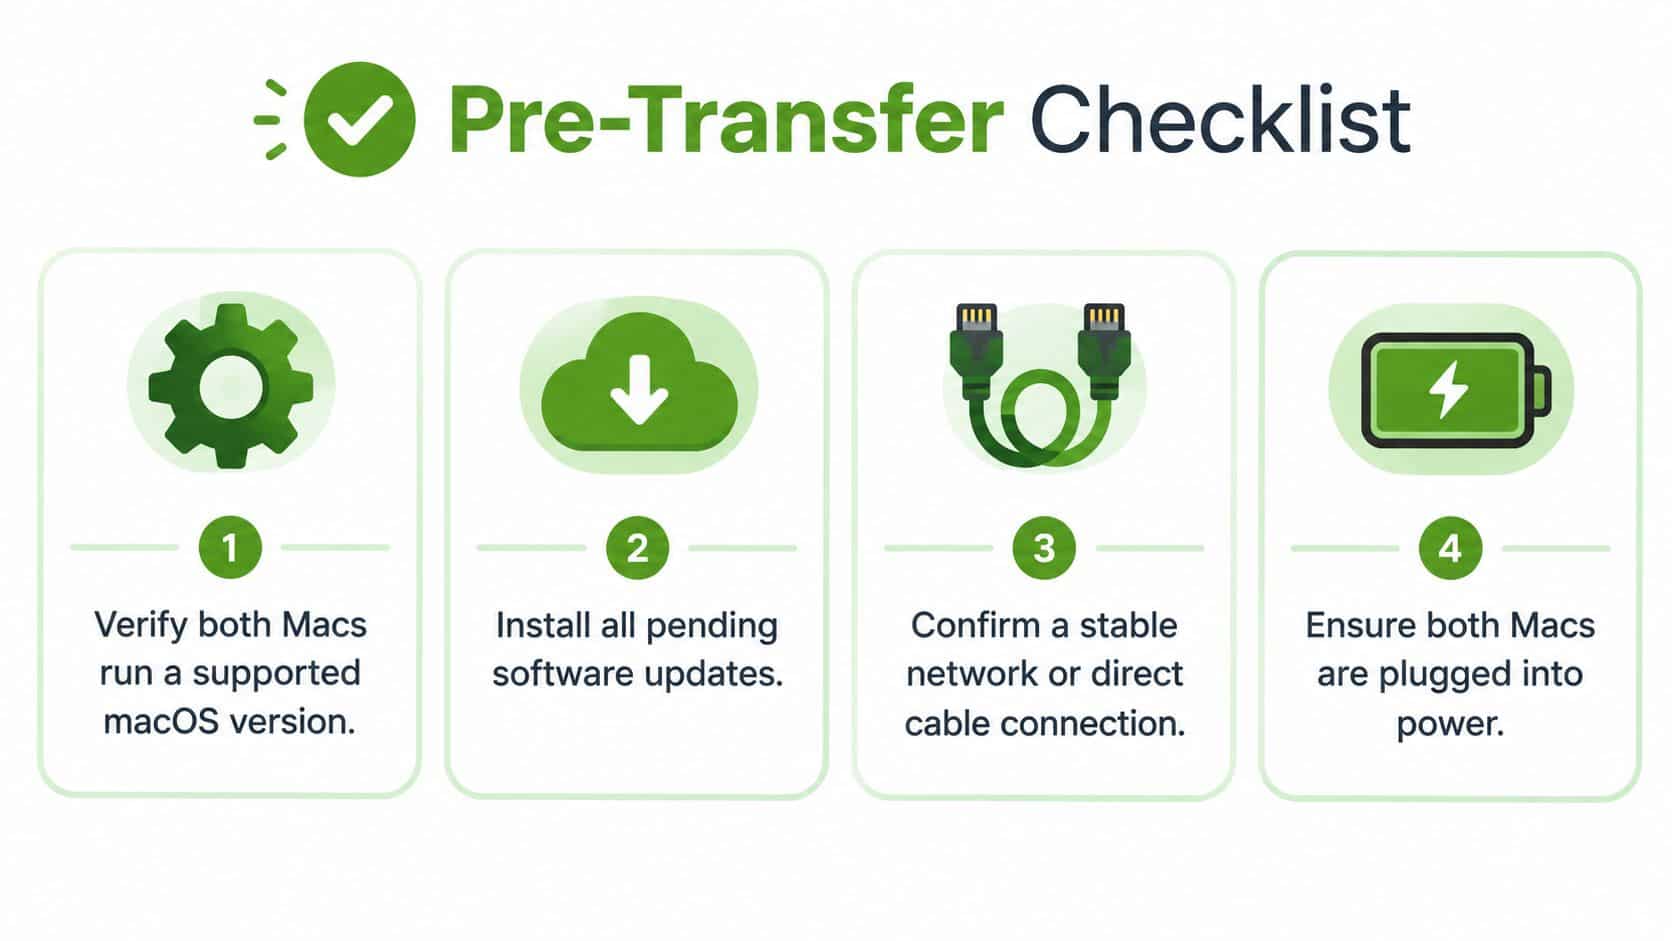
A Mac migration is easier to control when the preparation happens before the transfer screen appears. Update both Macs first, open Migration Assistant on each computer, and confirm that the matching code shown during setup is identical. Apple's Canadian Mac migration guidance also recommends current operating systems, nearby computers for wireless transfers, and compatibility checks.
Prepare the source Mac
Begin with the Mac that holds the data.
- Update macOS and applications: Use supported, mutually compatible versions on both computers. Install pending updates before connecting them, so an update restart does not interrupt migration.
- Confirm Apple ID access: Make sure the user has the Apple ID password. The new Mac may request it for iCloud, Messages, Find My, Mail, and Keychain synchronisation.
- Sign out of selected services when appropriate: Sign out of iMessage and FaceTime on the old Mac. Plan to disable Find My before erasing it, especially if the computer will be sold or recycled.
- Review software compatibility: Older applications may not transfer cleanly or work under a newer macOS release. Record licence details and subscription credentials for Microsoft 365, Adobe Creative Cloud, accounting software, and specialist tools.
Protect against a partial transfer
Create a current Time Machine backup or another verified backup before starting. Confirm that the backup completes and that important files are present, because an inaccessible backup offers no practical recovery. A repeatable routine is outlined in this Time Machine backup guide.
Check whether the destination needs the office's endpoint protection or device-management software. Apple also advises quitting applications and temporarily disabling antivirus, firewall, and VPN software that could interrupt migration, as described in Apple's troubleshooting instructions. Restore those controls after the transfer and follow workplace policy for doing so safely.
Remove avoidable connection problems
Connect both Macs directly to power with suitable chargers. Avoid an underpowered hub, particularly when several accessories share it. For a wireless transfer, keep the computers near each other on the same network. Edmonton condo buildings can have crowded or inconsistent Wi-Fi, so direct Ethernet is a useful fallback for a large local library or a transfer exceeding the 100 GB mark.
Do not erase the source Mac immediately. The copy must be checked before the old computer is signed out, wiped, sold, or recycled.
Choosing the Right Transfer Method for Your Situation
There isn't one universal winner. For a full replacement, Migration Assistant is usually the sensible starting point because it moves the user environment together. A selective move, a dead source Mac, a large media library, or a compliance requirement can make another method more appropriate.
| Method | Best For Data Size | Typical Time on Home Wi-Fi | Main Risk | Source Mac Cleanup |
|---|---|---|---|---|
| Migration Assistant over Thunderbolt, USB-C, or Ethernet | Full user environments, from modest folders to large local libraries | Wireless timing varies with data and network conditions. Wired is generally more predictable | Cable, adapter, compatibility, or security software problems | Verify the destination, then sign out and erase manually |
| Migration Assistant over Wi-Fi | Complete moves when no suitable cable is available | Can be convenient for lighter transfers, but large libraries may take much longer | Interference, distance, sleep, or network dropouts | Same verification and erase process |
| Time Machine restore | Full recovery when the source Mac is unavailable | Depends on the backup drive and connection | Incomplete or unverified backup | Keep the source or backup until testing is complete |
| Target Disk Mode | Selective file copying from a working source Mac | Not dependent on home Wi-Fi | Compatibility and cable requirements | Manually organise copied files |
| AirDrop | Small, occasional bundles | Fast for small batches, less useful for full migrations | Manual selection and missing hidden application data | Nothing automatic is cleaned up |
| External SSD drag-and-drop | Large photos, videos, archives, and manual moves | Avoids Wi-Fi entirely | Wrong format, interrupted copy, or missed folders | Review and delete unwanted source data separately |
| iCloud Drive and Desktop & Documents | Users already relying on Apple cloud synchronisation | Depends on internet upload and download | Unsynced local files, storage limits, and incomplete app migration | Disable old-device services after verification |
For a new Mac that will replace the old one completely, use Migration Assistant unless a known issue blocks it. If the old computer has a failing logic board, a backup-based restore may be safer. If the old macOS and new macOS don't cooperate, a clean setup with manual file copying can avoid carrying over obsolete software and settings.
A manual approach also makes sense when you want to leave behind years of clutter. Before deciding whether to trade in the old computer, myhalo upgrade advice for Apple offers useful context about preparing a Mac for an upgrade. For the backup part of a manual workflow, use a dependable external hard drive for Mac backup rather than treating the source Mac as the only copy.
Running Migration Assistant the Right Way
Migration Assistant is controlled rather than complicated. The destination Mac identifies the source, both screens display a confirmation code, and you choose the categories to transfer. This section is where a careful comparison matters. A matching code confirms that the two computers are communicating with the intended partner, rather than another nearby Mac.
Open Migration Assistant and confirm the connection
Use the readiness steps from the pre-transfer checklist before opening the tool. There is no value in repeating those checks here. Apple's standard workflow and confirmation process appear in its Mac setup instructions.
On the new Mac, open Migration Assistant during Setup Assistant, or launch it later from Applications and Utilities. On the destination Mac, select From a Mac, Time Machine backup, or startup disk. On the old Mac, choose the option to transfer information to another Mac.
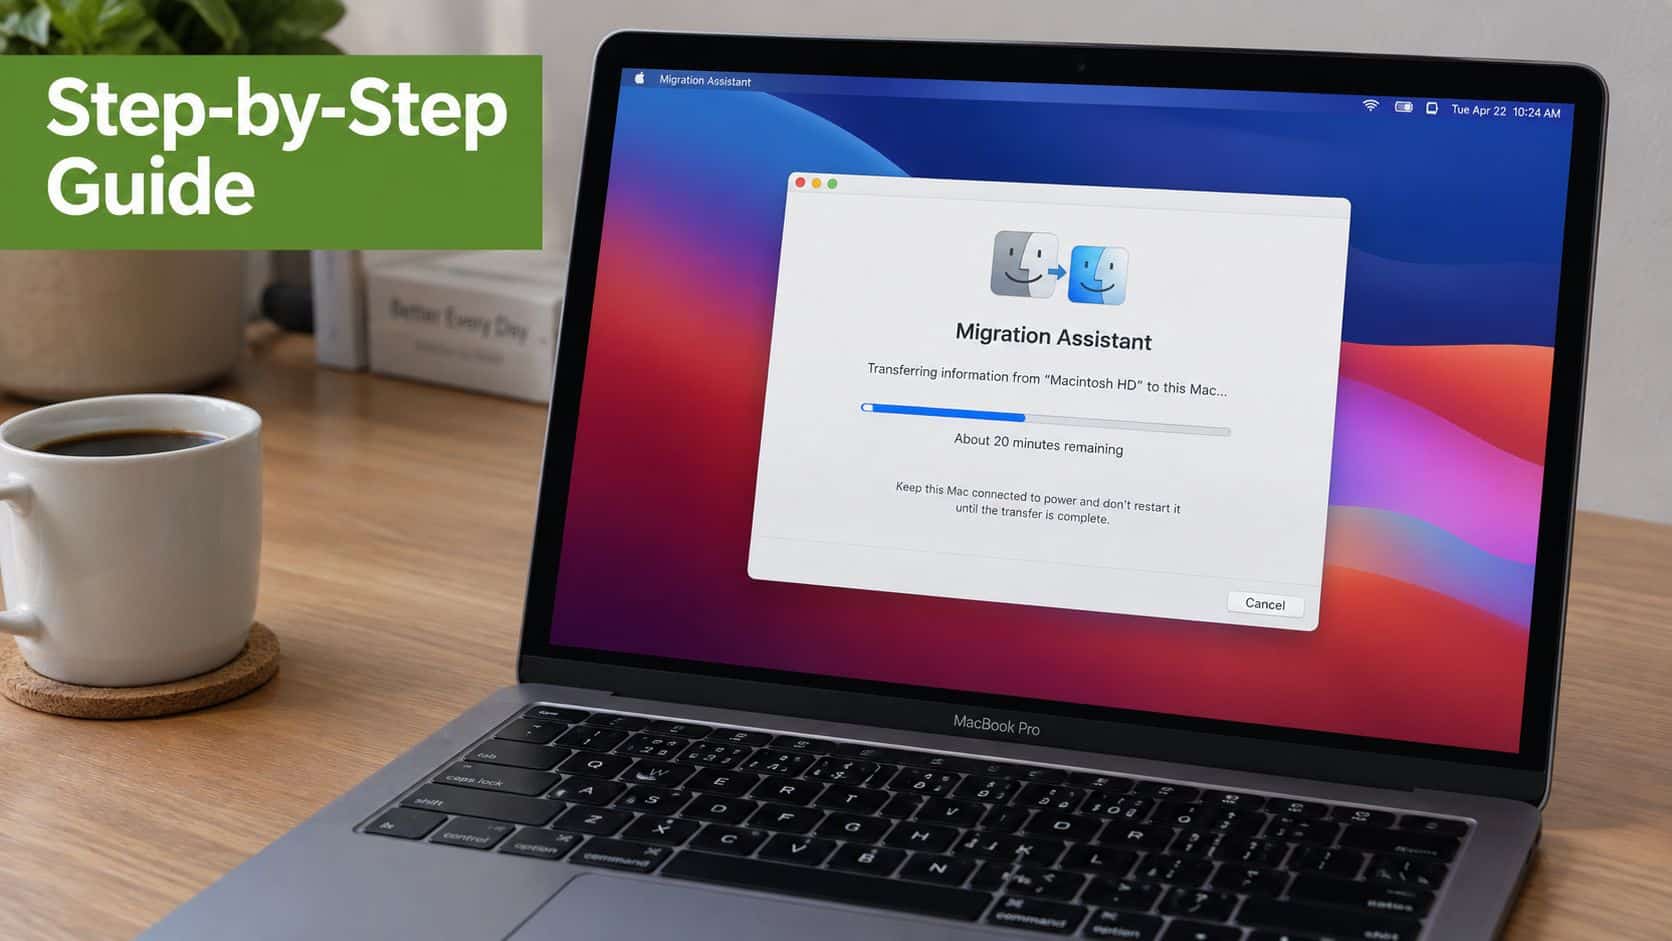
Wait until both computers identify each other. Compare the six-digit code shown on each screen before approving the connection. If the codes do not match, stop and check that you selected the intended source and destination. Do not approve a connection based only on the Mac's name.
Select transfer categories deliberately
The destination Mac will display the available categories. Select only what the user needs when the new computer is meant to start clean. Choose the full set when the goal is to make the new Mac resemble the old one, while allowing time for application licences and account sign-ins afterward.
- Applications: Transfer supported software. Some applications will request licences or subscriptions again.
- User Accounts: Move user folders and account data. Passwords from the source Mac may need to be entered again.
- Other Files: Include shared folders and data stored outside the usual user profile when those files belong on the new Mac.
- System Settings: Transfer selected preferences and environment details. Review these settings after the move, especially on a small-business Mac with printers, shared drives, or managed accounts.
Category selection is an operational choice, not a formality. Bringing everything across saves manual sorting, but it can also carry old preferences or software that the user no longer needs. Selecting fewer categories reduces that baggage and requires more manual verification.
Monitor the transfer without interrupting it
Do not stop the process because the progress display appears quiet. Large transfers may spend time checking, indexing, or processing individual items. Leave both Macs connected and allow the workflow to finish.
If it stalls, record the point of failure before restarting. The same location can indicate a problem with a particular application, account, or security tool. Managed environments require one extra check. Managed Migration Assistant works with Setup Assistant and Automated Device Enrollment, so the destination administrator may need to authorise the transfer and source account passwords may need to be entered again. Organisations should confirm their management platform's requirements before starting, since endpoint controls can block unapproved tools.
Alternative Methods When Migration Assistant Is Not Ideal
Migration Assistant works well when both Macs boot normally and the transfer can run without interruption. Change course when the source Mac crashes, its drive reports errors, the transfer repeatedly stops at the same point, or the new Mac cannot run important software. Continuing to retry can waste time and place extra strain on a failing drive.
Decide when to abandon the full migration
A readable backup gives you a recovery path if the source Mac is unavailable. Before restoring, confirm that the Time Machine disk mounts and that you can browse its contents. A backup that is disconnected, damaged, or too old for the current work should not be treated as the only copy. If the source Mac still starts, create or verify another copy before attempting a broader recovery.
A failing source drive needs a different priority. Copy irreplaceable documents, photos, project folders, and business records first. Work in small batches, stop when the drive begins producing errors, and avoid repeated restarts that can make a weak disk less reliable. If the Mac will not stay running, professional drive recovery may be safer than repeated transfer attempts.
Target Disk Mode can help with selective recovery from a Mac that still starts, but compatibility matters. The startup key, cable, ports, and macOS hardware support must all line up. If the source volume does not appear in Finder, test another compatible cable or port once, then stop troubleshooting that path if the drive shows warning signs.
Reduce risk during a partial move
For a large Photos library, video archive, or client folder, copy in manageable groups and open several copied files on the destination before deleting anything from the source. An external SSD can hold the working copy while you sort folders later. Keep the original data untouched until the destination has been checked.
AirDrop suits a small, clearly defined batch, such as documents needed for an immediate appointment. It becomes error-prone when filenames, nested folders, permissions, or application support files matter. iCloud synchronisation can restore services tied to the Apple ID, but it will not supply local-only files or repair an application that needs a separate activation.
When the source Mac is unstable, the safest alternative is usually selective recovery rather than a full clone. Prioritise data the user cannot recreate, preserve the source until those files open correctly, and document what was copied. Home users can then finish setup in stages. Small businesses should also record shared-folder locations, licensed applications, and any files stored outside the normal user profile so a partial transfer does not look complete when important work is still missing.
Verifying the New Mac After the Transfer
A completed progress bar isn't the same as a ready workstation. Check the new Mac while the old one remains available, because the source computer is still your easiest recovery option.
Open the applications people use, not only Safari and Finder. Test Microsoft 365, Adobe Creative Cloud, accounting programs, local databases, browser profiles, and any software that requires a licence or subscription sign-in. Some applications may need a fresh activation or a compatible version before they can open existing projects.
Check accounts, files, and services
Sign in to the Apple ID and confirm that Mail, Messages, Contacts, Calendars, Reminders, Notes, iCloud Drive, and Photos behave as expected. Review important folders manually, including Desktop, Documents, Downloads, client folders, and local archives. For help resolving Apple account access before or after the move, use this Apple ID setup resource.
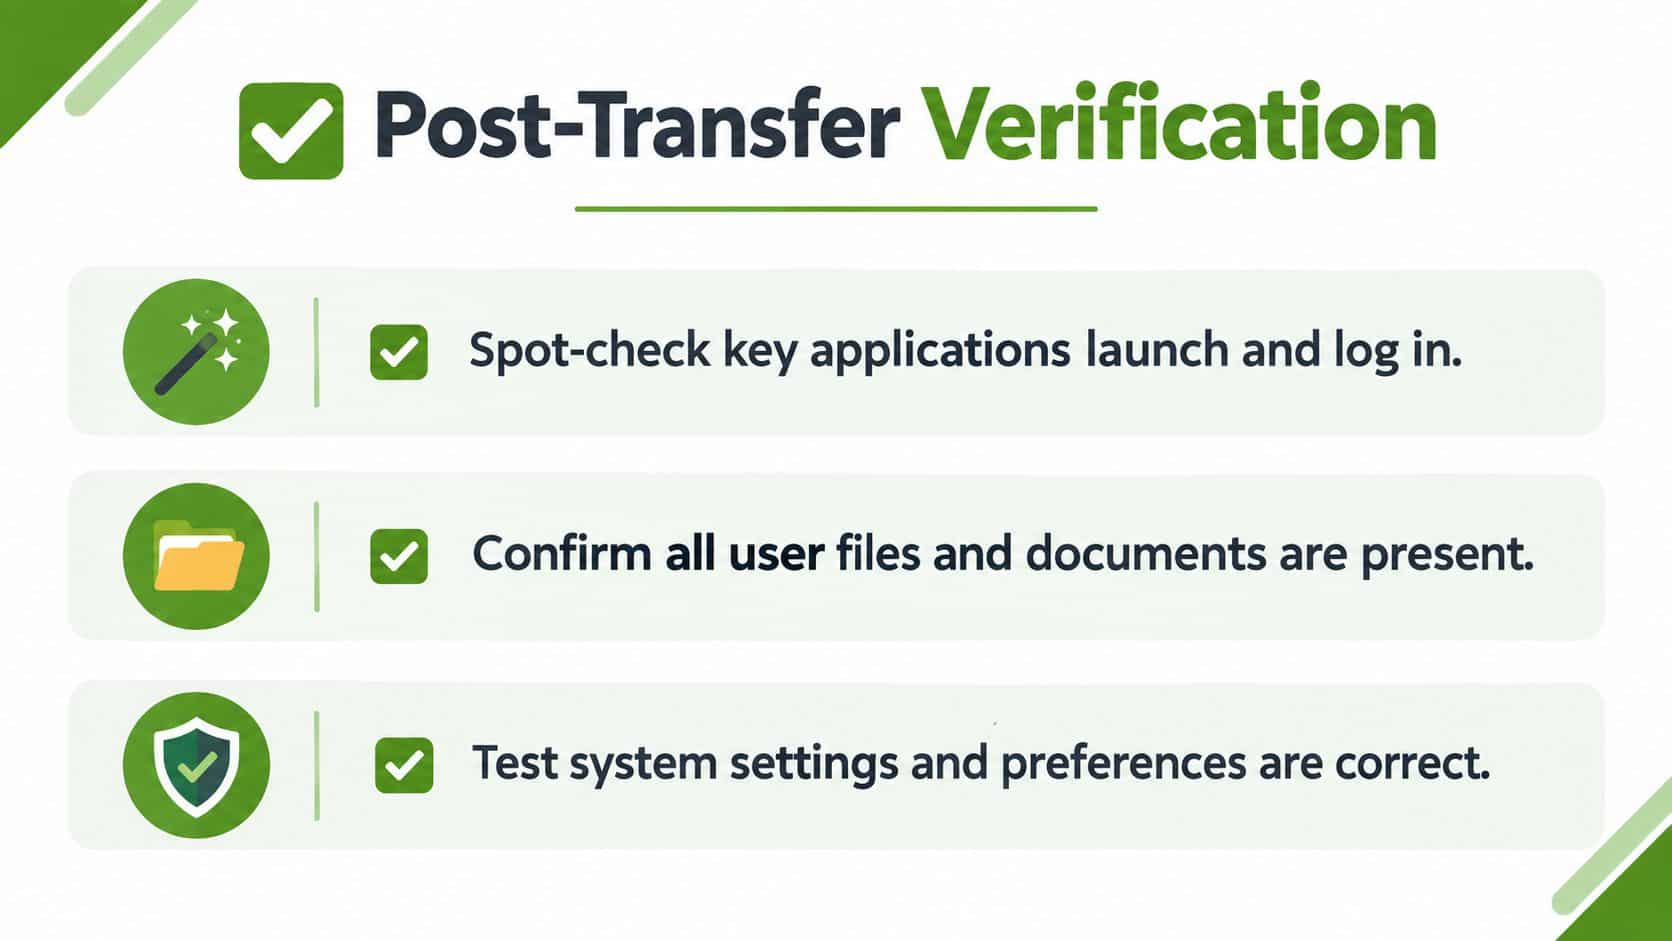
Test email, banking, remote-work VPNs, and other services that store credentials separately. Re-entered passwords may need to be saved again. Connect printers, external displays, audio interfaces, scanners, and other accessories, then check whether their drivers or permissions need attention.
Open System Settings and review Network, Privacy and Security, Login Items, and any device-management profiles. Only after these checks pass should you sign out of iCloud, Messages, and Find My on the old Mac, erase its drive with Disk Utility, and prepare it for resale or recycling.
Common Problems, Fixes, and When to Call a Local Tech
A migration that stalls, drops the connection, or leaves an account behind usually has a practical cause. Security software, an unstable wireless path, a sleeping Mac, or an application that does not cooperate with the destination can interrupt the copy. Before retrying, update macOS, quit open applications, and temporarily disable antivirus, firewall, and VPN software, following Mac migration troubleshooting guidance.
Work through the safe fixes first
- Stalling mid-copy: Large libraries can take time. If progress remains unchanged, restart both Macs and try again with a direct cable instead of Wi-Fi.
- “Another migration is already in progress”: Quit Migration Assistant on both computers, close unrelated applications, restart, and begin a new session. Persistent errors may require Recovery-based troubleshooting.
- Greyed-out accounts: Check administrator permissions, confirm the source account password, and review managed migration policies that may limit which account can authorise the move.
- Missing Apple ID access: Confirm the password before starting, then complete Apple ID sign-in on the destination so cloud services can synchronise.
- Failed Thunderbolt handshake: Reseat both ends, remove unnecessary hubs, test a suitable cable or adapter, and restart both Macs.
- Dropping Wi-Fi: Keep the computers nearby on the same stable network. Pause VPN and firewall tools, then use Ethernet when practical.
A software retry is reasonable. A drive that will not mount, a Mac that crashes under load, or suspected internal storage failure needs diagnosis before repeated copying.
Nerds 2 You Edmonton provides on-site new-computer setup, data transfer, Mac diagnostics, backup guidance, and network troubleshooting for homes and small businesses. It does not provide remote services or full MSP services, though it provides ongoing support and network monitoring for small and medium businesses. The team handles most major hardware repairs on site, but board-level repairs aren't provided, because component-level microsoldering requires specialised lab equipment and workflows.
For an appointment, keep both Macs, their chargers, required cables, Apple ID details, software licences, and the latest backup available. A local technician can prepare the transfer, test the wired or wireless path, and identify hardware problems before they become repeated copy failures.
Nerds 2 You Edmonton can help prepare both Macs, complete the setup on site, and verify the new computer before the old one is erased. Visit Nerds 2 You Edmonton to arrange local help with your Mac to Mac data transfer, backup, network, or hardware needs.
Contact Nerds 2 You for quality professional service
Experience the difference with our dedicated team of experts ready to assist you. Whether you need immediate support or have questions about our services, we are here to help. Reach out today and let us provide you with the reliable service you deserve. Your satisfaction is our priority and we guarantee a prompt response to all inquiries.
Discover more from Nerds 2 You
Subscribe to get the latest posts sent to your email.